|
Step 2 Add the ColdFusion Input With Error Checking
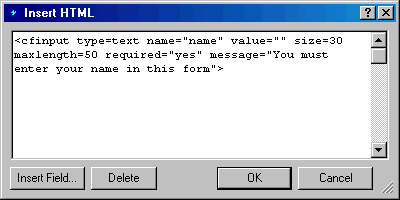
- Double click the table cell next to the Name text, press ctrl+t (hold the control key and press the t key. This is where you will place your ColdFusion tags for the CFINPUT.
<cfinput type="text" name="name" value="" size=30 maxlength=50 required="yes" message="You must enter your name in this form">
You will notice that there is are additional comments in this cfinput tag, The required="yes" and the message="comments" make that input field required (something must be entered or the form cannot be submitted).
 |
- Double click the table sell next to the E-mail address text, press ctrl+t to bring up the HTML insertion point and enter another <cfinput> tag. This tag has a regular expression validation check. The input is not only required but it must match a specified order with alphanumeric characters, followed by the @ followed by other alphanumeric, a period and two or three alpha characters (in other words it must look like an e-mail address or the form cannot be submitted).
<cfinput type="text" name="email" value="" size=30 maxlength=50 required="yes" message="You must enter a valid email address in this form" validate="regular_expression" pattern="^[_a-z0-9-]+(\.[_a-z0-9-]+)*@[a-z0-9-]+(\.[a-z0-9-]+)*\.(([a-z]{2,3}))$">
This page was written by and is maintained by turtle
|