|
Background: Why use CuteFTP Pro instead of Fusion's built-in remote publish feature?
More reliable
A premium FTP program like CuteFTP will just work with all standard web servers.
Exception: GeoCities and other freebee hosts that make you use their site management tools. With those, you have to local publish and use their web transfer utilities.
More control
When all you have changed is text on a single page:
- NOF wants to send everything all over again, all the NavBar Buttons, banners, page background, inline images, the works.
- With manual FTP, all you need to do is send the html file that makes up the page.
- If all you change is a single inline image on one page, all you need to upload is the html file and one image file.
Easier long-term site maintenance
Using only NOF's remote publish, your host will soon get cluttered with old site assets no longer used by the site. Yes, you can use the Publish View, Publish, View/Delete Server Contents to manage the old files.
You will that find CuteFTP's dual display of local and remote files is far easier to use.
Better yet, you can use CuteFTP Pro's Synchronize feature to make sure your web server has exactly what you see in your Local Publish folder.
Set up CuteFTP Pro
Talk to your host or ISP. You need to get:
- The web server name or IP address
- The folder name where to place your site root
- The required file name for your home page (index.html, default.html, etc.)
- Your login ID and password
Set up the site connection in CuteFTP Pro
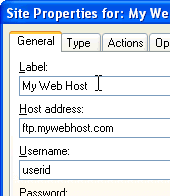
On CuteFTP's menu, select File, New, FTP site (or press CTRL+N). Set up your new connection as follows:
|
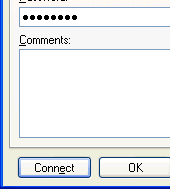
General tab: Enter a Label for your new connection, and set the Host address, user name and password.
|
|
|
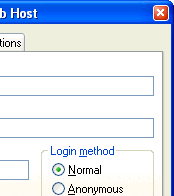
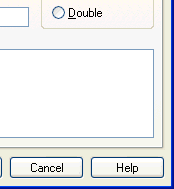
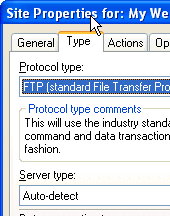
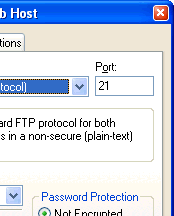
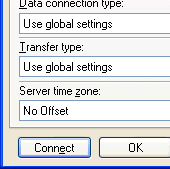
Type tab: you can usually leave these settings as default.
|
|
|
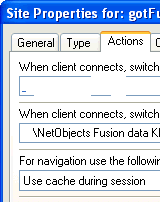
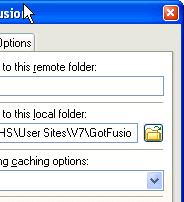
Actions tab: it can be useful to set the remote folder and local folder options. Setting these default locations saves you some extra mouse-clicks when you are ready to upload your site files.
- Your host company will tell you the correct folder location for your homepage.
- The local folder will usually be: x:\NetObjects Fusion 7\User Sites\yoursite\Local Publish
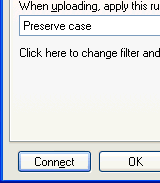
DO NOT CHANGE the setting for When Uploading, Preserve Case!
|
|
Global options
|
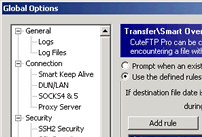
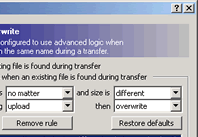
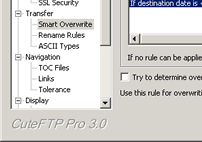
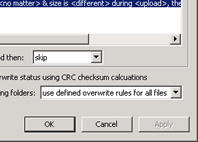
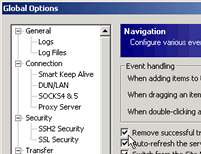
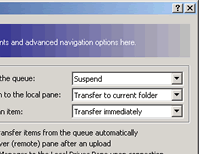
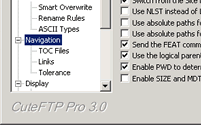
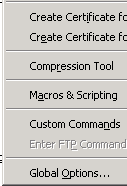
Use Tools, Global Options to set up rules for uploading.
- Setting up a Rule to over-write files that are different makes sure that your online site gets all the files needed and the most current versions of the files for the page(s) to render properly.
|
|
|
Remove from the queue after successful completion is a good one to set also...(thanks to Turtle for that suggestion)
|
|
Set up Fusion to Publish Local
- Click the Publish Site button
|

|
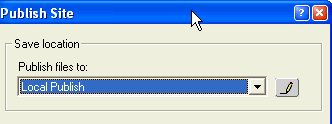
- Set the local publish profile
|
|
- You might also need to set the home page file name. See Turtle's tutorial for how to do that.
Set up Fusion to publish By Asset Type
Why publish by Asset Type?
- It's the Fusion default
- You get a simpler, easier to navigate directory structure
- You get better page load times than publishing "by flat"
- You get shorter URLs for pages than "by site structure"
Things to do before you publish local
To prevent many common problems that can happen in the publishing process, always delete the contents of your Preview and Local Publish folders. By default, these folders are located in:
X:\NetObjects Fusion 7\User Sites\YourSite\Local Publish and
X:\NetObjects Fusion 7\User Sites\YourSite\Preview
You can clear the above folder contents from Windows Explorer, or you can create a batch file that will do the job. To create a batch file:
- Copy and paste one of the code boxes below into Notepad. The first is for Windows NT/2000/XP, the other is for Windows 9x/ME.
- Save it in the same folder as your NOD file.
- The filename can be any legal batch file name: ClearPub.bat is as good a name as any.
rem Use this version for Winnt/2000/XP
rem ClearPub.bat deletes local publish and preview files and folders
rd "local publish" /s /q
rd preview /s /q
echo "local publish and preview files and folders deleted"
pause
exit
rem Use this version if you run Win 9X/ME
rem ClearPub.bat deletes local publish and preview files and folders
deltree /Y "local publish"
deltree /Y preview
echo "local publish and preview files and folders deleted"
pause
exit
Publish Local
Remember, in Fusion MX and 7, you can select to publish your entire site, just one page, or selected section of your site. For safety's sake, never enable Publish changed assets only: that option is extremely unreliable.
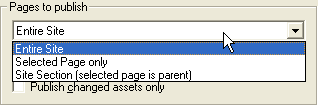
Which option should you chose, and what files must you upload to your server?
|
Entire Site:
|
You have added new pages. This will change your site's NavBars on every page. For safety's sake, you should upload the entire contents of your Local Publish folder.
|
|
Selected Page only
|
You have only changed the content of a single page.
- If all you changed was some text content, you only need to upload the html file from \Local Publish\html to the server's \html folder.
- If you added or changed graphics, you must upload those from the Local Publish\Assets\Images folder.
|
|
Site Section (selected page is parent)
|
You have edited or added content to the selected page and to the pages below the current page in Site View.
|
Things to do before you upload
- Always optimize your Local Publish\Assets\Images\Autogen graphics. When Fusion creates your Banner and NavBar button graphics, the files are much larger than they need to be.
We at gotFusion.com highly recommend Ulead SmartSaver Pro for this task. You can reduce the file size of your NOF Banner and NavBar Button graphics by 40 to 60% with just a few mouse clicks in SmartSaver Pro.
- Always test your locally published site in various browsers.
This allows you to fix any problems before your site users run into them.
Upload your site files
- CuteFTP Pro makes transfering your files to your server easy, fast, and reliable.
- If your CuteFTP Pro setup is correct, all you do is this:
- Click on your local Drives tab
- Press CTRL+A to select all
- Select File, Upload (CTRL+PageUp).
Watch the Queue Window for the upload progress. If errors occur, just re-upload the file(s) that had problems.
Using CuteFTP Pro's Synchronize Feature
The Synchronize feature automates your site maintenance. It can both upload new content and remove old files that are no longer in use.
- WARNING: You must only use Synchronize when you have done a Local Publish of your entire site. Otherwise, you will delete site files still in use. (Hint: that would be a bad thing...)
To use CuteFTP Pro Synchronize:
- Local Publish
- Optimize your \autogen graphics
- Test your site thouroughly
- Connect to the server in CuteFTP Pro.
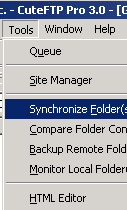
- Select Tools, Synchronize
|
|
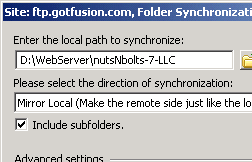
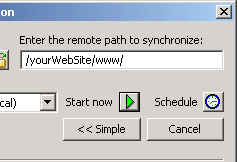
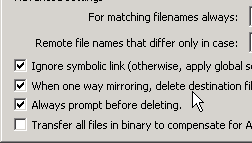
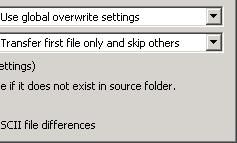
Set your Synchronize dialog options.
- Your local publish folder is the local path, the web root of your site is the remote path.
- Ensure that you Mirror Local to Remote, (NOT the other way around)
- If you are 100% confident that your Local Publish site is correct, you can uncheck always prompt before deleting to save some mouse clicks
- Click the Start Now button
- Watch the transfer window and respond to any prompts.
|
|
Need a copy of CuteFTP Pro?
Members of the gotFusion Users Group get a 10% or 15% discount on CuteFTP Pro in the gotFusion Store. (Your discount will be applied when you finalize your purchase in the gotFusion Store).
|


